The Winchester Star Awards Winner - 7 Years in a row

Many Winchester patients want a brighter, more confident smile. But before committing, they have one big question: what happens to your tooth during the veneer bonding process in Winchester? Understanding each step makes the decision much easier. At Winchester Smiles of Virginia Family Dental Center, Dr. Niels Oestervemb guides every patient through the process with clarity and care.
Veneers are thin, custom-made shells placed over the front surface of your teeth. They correct discoloration, chips, gaps, and uneven shapes. The process is more detailed than most people expect. Knowing what to anticipate helps you feel confident and prepared.
Step One: Your Veneer Consultation and Shade Selection in Winchester
The veneer journey begins with a detailed consultation. Dr. Oestervemb examines your teeth, gums, and bite to confirm you are a good candidate. He also discusses your smile goals and reviews photos to understand your expectations.
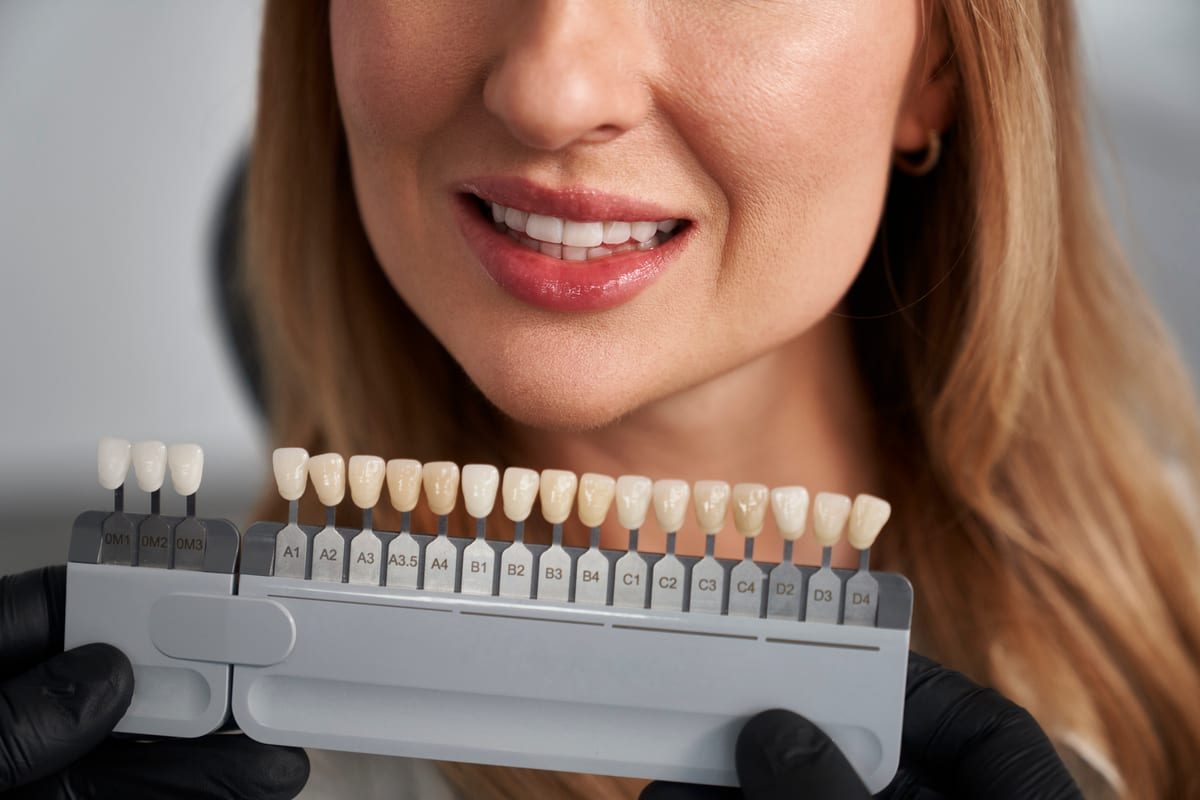
Shade selection happens during this first visit. Choosing the right color is critical for a natural-looking result. Dr. Oestervemb uses a professional shade guide to match your veneers to your surrounding teeth. He considers your skin tone, eye color, and personal preference.
Many patients feel surprised by how many shade options exist. The goal is always a result that looks beautiful and feels authentic. You actively participate in this decision. Your input shapes the final outcome.
- A shade guide with multiple color options is used
- Natural lighting helps determine the most flattering tone
- Dr. Oestervemb explains the difference between natural white and bright white
- Digital previews may help you visualize your new smile
What Happens to Your Tooth During Enamel Preparation
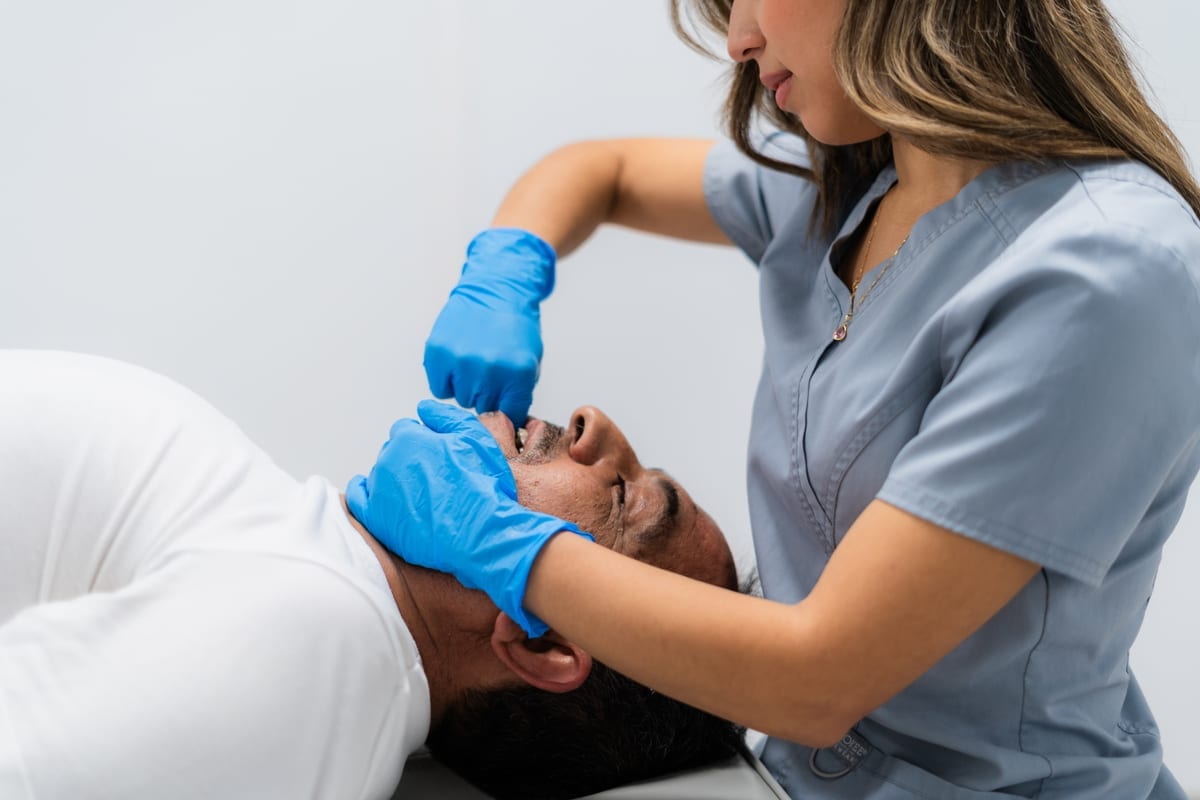
This stage is where the physical transformation of your tooth begins. Dr. Oestervemb removes a small, precise amount of enamel from the front surface. This step is necessary so the veneer sits flush and looks natural.
The amount removed is typically between 0.3 and 0.5 millimeters. That is roughly the same thickness as a contact lens. The removal is permanent, which is why this decision requires careful thought. Local anesthesia keeps you comfortable throughout.
Some patients worry about tooth sensitivity after preparation. Mild sensitivity is normal and temporary. Dr. Oestervemb takes every precaution to minimize discomfort during and after this stage. He works conservatively to preserve as much healthy tooth structure as possible.
After shaping, your tooth is cleaned and dried. Impressions or digital scans are taken. These records go directly to the dental lab where your custom veneer is crafted. Precision at this stage ensures a perfect fit later.
Understanding the Temporary Veneer Phase
Once your tooth is prepared, you do not leave the office unprotected. Dr. Oestervemb places a temporary veneer over your prepared tooth. This protects the enamel and keeps your smile looking presentable while the lab creates your permanent restoration.
Temporary veneers are made from a softer, acrylic-based material. They are not as durable as your permanent porcelain shells. You should avoid very hard or sticky foods during this phase. The temporary phase typically lasts one to two weeks.
Pay attention to how the temporary feels. Notice the fit, the bite, and the overall look. Share any feedback with Dr. Oestervemb at your next visit. This input helps fine-tune the final veneer before permanent bonding.
- Avoid hard foods like nuts or raw carrots
- Skip sticky foods that could dislodge the temporary
- Brush gently around the temporary veneer
- Contact the practice if the temporary comes loose
- Note any bite discomfort to discuss at your next appointment
The Final Veneer Bonding Appointment: What to Expect
Your second appointment is where everything comes together. The dental lab returns your custom porcelain veneer. Dr. Oestervemb removes the temporary and cleans your tooth thoroughly. He then places the permanent veneer to check the fit and color before bonding.
If minor adjustments are needed, they happen at this stage. The shade is verified under different lighting conditions. Dr. Oestervemb wants your approval before anything is permanently fixed in place. Your satisfaction is the priority at every step.
Once you are happy with the result, bonding begins. A special dental adhesive is applied to your tooth surface. The veneer is positioned precisely and held in place. A curing light activates the bonding agent, hardening it within seconds.
After bonding, Dr. Oestervemb removes any excess cement. He checks your bite carefully and makes small polish adjustments. The result is a seamlessly bonded, natural-looking veneer. Most patients are amazed by how comfortable and real it feels.
Caring for Your Veneers After Bonding in Winchester
Porcelain veneers are durable, but they still require proper care. Brush twice daily with a non-abrasive toothpaste. Floss gently around the veneer margin each evening. Regular checkups with Dr. Oestervemb help extend the life of your veneers significantly.
Avoid using your teeth as tools. Do not bite fingernails, pen caps, or ice cubes. If you grind your teeth at night, Dr. Oestervemb may recommend a custom nightguard. Protecting your veneers protects your investment in your smile.
Patients sometimes ask about other restorative options alongside veneers. If you are also exploring tooth replacement, learn about your options with a Dental Implant Step2 Winchester consultation. Additionally, managing the cost of dental care is easier when you explore a Dental Savings Plan Winchester offered at our practice. Both resources help you make informed decisions about your overall dental health.
With the right habits, porcelain veneers can last ten to fifteen years or longer. Many Winchester patients enjoy their results for decades. Your smile is worth protecting with consistent daily care. Dr. Oestervemb and the team are always here to answer questions between visits.
Frequently Asked Questions
Is the veneer bonding process painful?
Most patients experience minimal discomfort during the veneer process. Local anesthesia is used during enamel preparation to keep you comfortable. Some mild sensitivity may occur after preparation, but it usually fades quickly. Dr. Oestervemb prioritizes your comfort at every stage of treatment.
How long does the entire veneer process take from start to finish?
The veneer process typically involves two main appointments spread over one to two weeks. Your first visit covers the consultation, shade selection, and tooth preparation. The dental lab then crafts your custom veneer. Your second visit is the final bonding appointment, which usually takes about one to two hours.
Will my teeth look different during the temporary veneer phase?
Yes, temporary veneers are placed to protect your prepared teeth between appointments. They approximate the shape and color of your final veneers but are not as polished. Most patients find they look perfectly acceptable during this short waiting period. Any concerns about the temporaries can be addressed at your follow-up visit.
Can I choose how white my veneers will be?
Absolutely. Shade selection is a collaborative process between you and Dr. Oestervemb. You can choose a shade that closely matches your natural teeth or opt for a brighter result. Dr. Oestervemb advises patients on which shades look most natural based on their individual features.
How do I get started with veneers at Winchester Smiles of Virginia?
Getting started is simple. Schedule a consultation with Dr. Niels Oestervemb at Winchester Smiles of Virginia Family Dental Center. During that visit, he will evaluate your smile, answer all your questions, and outline a personalized treatment plan. Book Now to schedule your appointment with our team.


What Our Patients Say About Us
What Our Patients Say About Us